Genie Garage Door Wall Console Troubleshooting

Genie Garage Door Opener Troubleshooting Guide For Models 1022 1024 The Genie Company

Genie Silentmax 1200 Hpc Ultra Quiet Belt Drive Garage Door Opener W 2 Remotes Wall Console Wireless Keypad 3 4 Hpc Dc Belt Drive Garage Door In 2020 Garage Door Opener Best Garage

Replacing Old Genie Garage Door Opener Parts The Genie Company
Model 1028 Garage Door Opener By Genie

Silentmax1200 Ultra Quiet Belt Drive Garage Door Opener Added Keypad The Genie Company

Genie Garage Door Opener 1028 Reliag 650 Proseries Hpc Dc Motor System Includes Wall Button Safe T Beams And One Button Remote Head 7 Chain Rail Amazon Com

For series ii wall console you can remove the wires from the back of the wall console and touch them together to see if the garage door moves.
Genie garage door wall console troubleshooting.
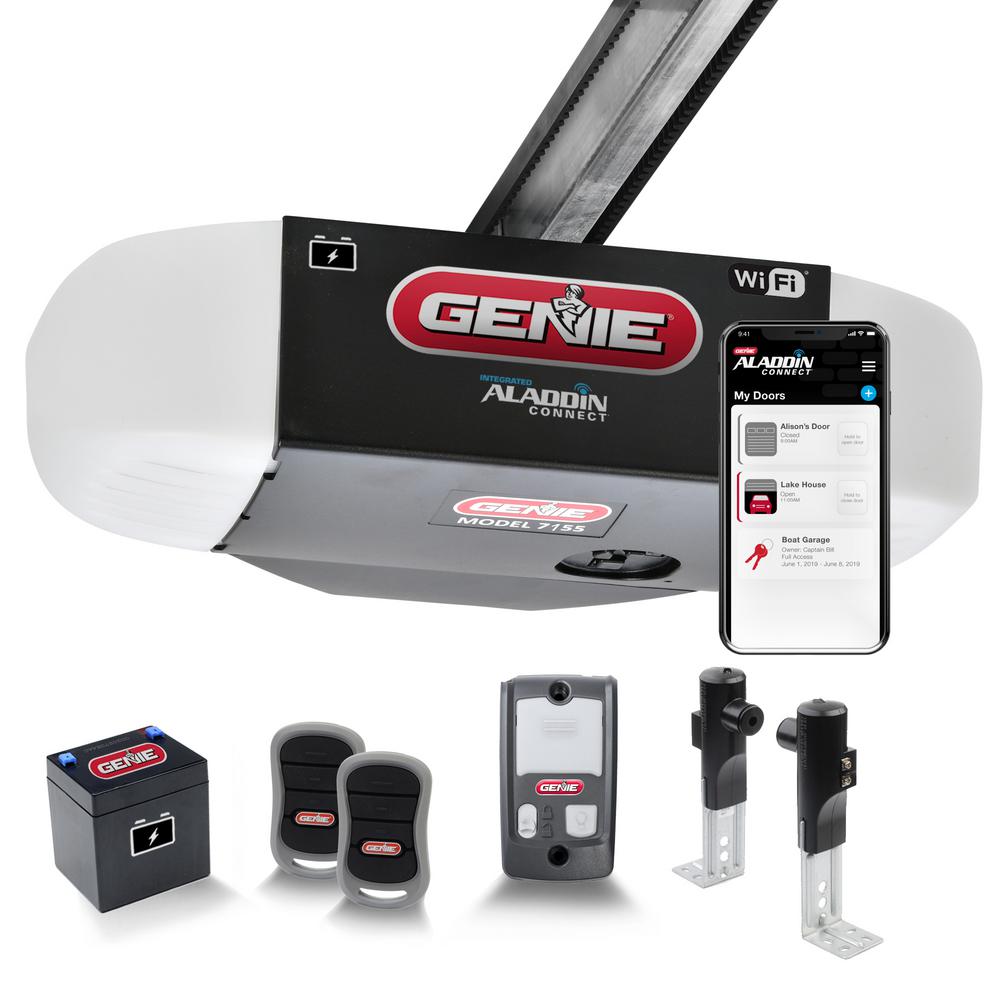
Genie 1 Hpc Ultra Quiet Belt Drive Smart Garage Door Opener With Battery Backup And Aladdin Connect Smart Home 7155 Tv The Home Depot
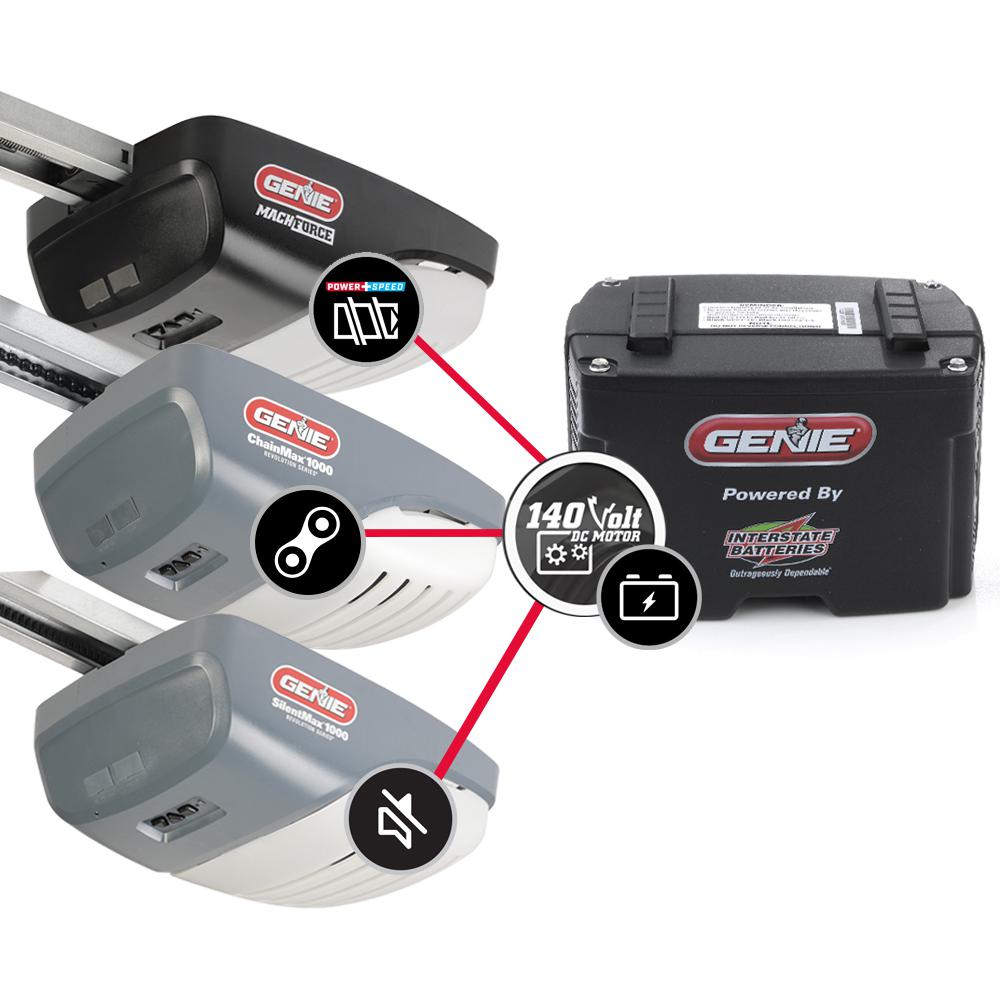
Genie Garage Door Opener Battery Back Up Add On Kit For 140v Systems 37228r The Home Depot

Genie 3 Button Garage Door Opener Remote Model Gitr 3bx The Genie Company

Genie Garage Door Opener Installation Service The Genie Company
Source : pinterest.com
